Appearance
4. 資料驅動 React - 建立版型
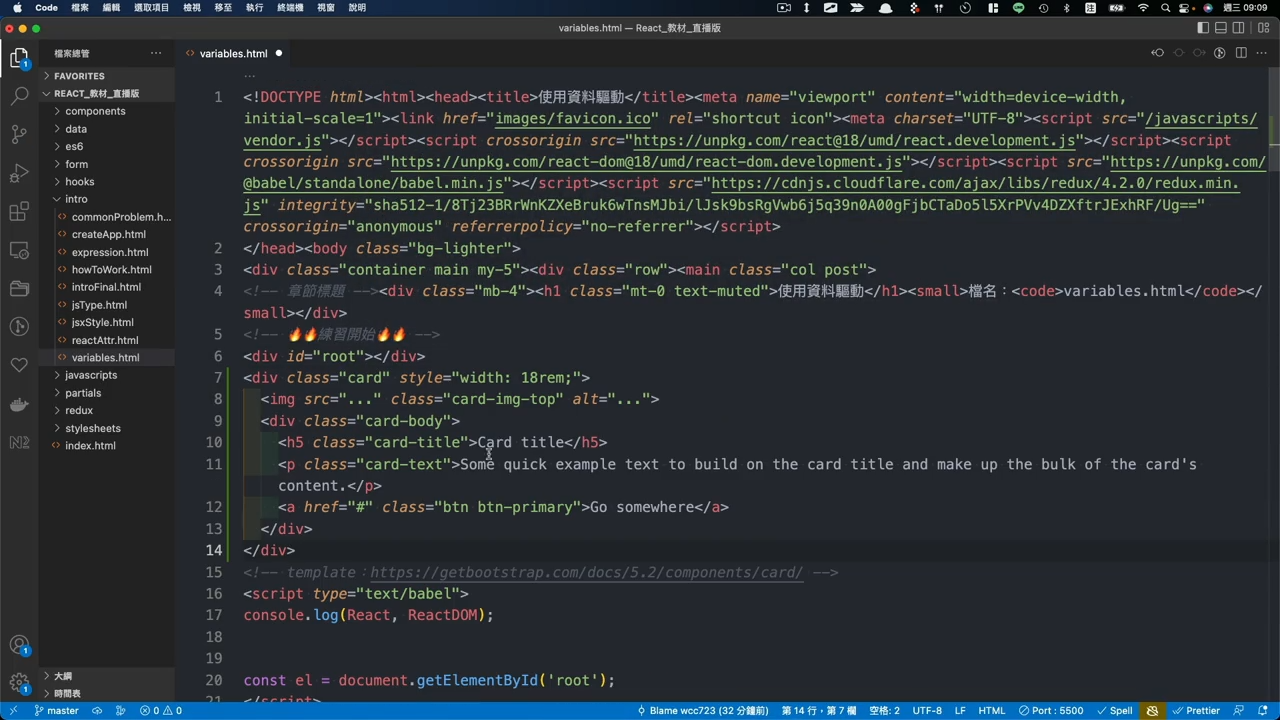
打開檔案 /intro/variables.html
- 上方
head裡面已經有加載額外資源,React、ReactDOM,所以不需要另外載入。
開啟 template 連結
- Bootstrap Card
- 複製範例程式:html
<div class="card" style="width: 18rem;"> <img src="..." class="card-img-top" alt="..."> <div class="card-body"> <h5 class="card-title">Card title</h5> <p class="card-text">Some quick example text to build on the card title and make up the bulk of the card's content.</p> <a href="#" class="btn btn-primary">Go somewhere</a> </div> </div> - 貼到程式碼中
- 更改圖片網址
- 先開啟免費圖片素材 unsplash.com
- 選一張圖片,右鍵『複製圖片網址』
- 貼到程式碼中的
src。
將卡片轉到 React 裡面
首先建立一個元件,並將
Card結構當成return資料。jsfunction App() { return <div class="card" style="width: 18rem;"> <img src="..." class="card-img-top" alt="..." /> <div class="card-body"> <h5 class="card-title">Card title</h5> <p class="card-text">Some quick example text to build on the card title and make up the bulk of the card's content.</p> <a href="#" class="btn btn-primary">Go somewhere</a> </div> </div> }使用
ReactDOM來選取root,並將App元素渲染到畫面上jsconst el = document.getElementById('root'); const root = ReactDOM.createRoot(el); root.render(<App />)調整錯誤,將
class改成className將
style移除